
I love our floors, although there are definitely times when I think about replacing them, upgrading them, or completing the new project when these floors wear out, which will hopefully be in a long time.
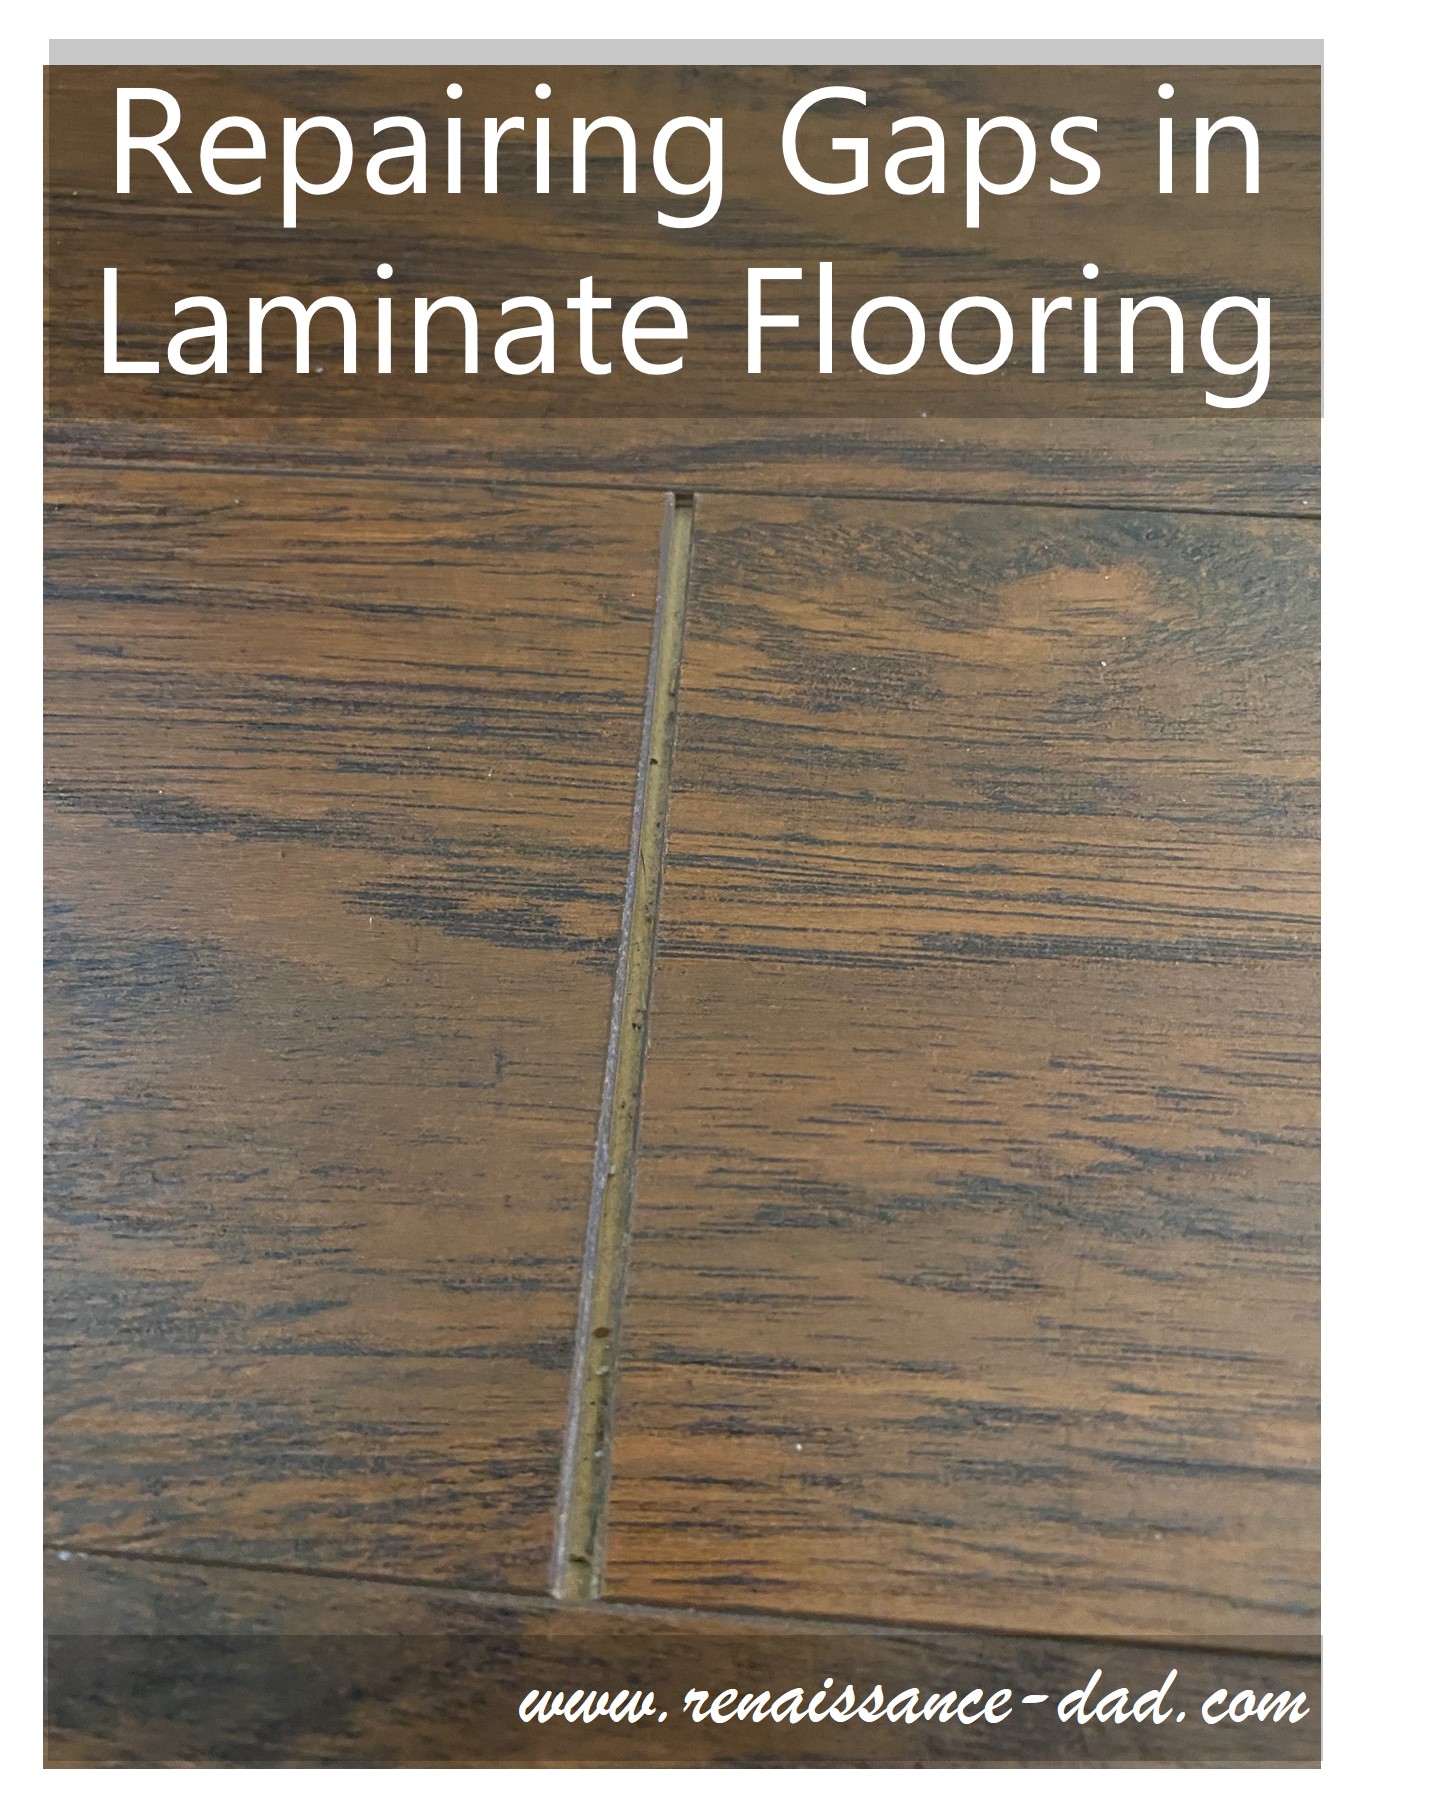
A few months ago I noticed some separating, some gaps, between a few of the boards at the top of the stairs. I am almost certain that there is no way it was an installation error. And I really don't see a way that our kids running around the house like drunken monkeys could be the cause for boards to
shift. And it is beyond reason that the temperature changes in the house over the course of four years could have caused any kind of movement. Essentially, this has to be a problem with the flooring itself.
So what's a Renaissance Dad to do?!?
After pondering the dilemma, I came up with a fairly easy solution. Please note, this process worked for me without any damage, but because all flooring is different, please test the process on a hidden spot of floor to make sure that it works for your floor.You need a block of scrap wood, a hammer, and Gorilla Double Sided Tape (I will save you the hassle of trying other types of tape. Everything shifted and did not have the grip needed to move the boards. Gorilla Double Sided Tape was my last resort...

While pushing down on the block of wood with one hand, whack the block of wood with a hammer, being careful to hit the wood and not your fingers, the floor, or the antique vase that you failed to move away from the work area. Tap, tap, tap the board into place.
Note: if you haven't vacuumed since the last election, you'll probably want to vacuum or blow the area out so you're not hindered by the crud in the gap.
Once that board is snug, work your way towards the wall, since every gap that you close up creates another gap on the other end of the board. The tape should pull off of the flooring, allowing you to use it on the next piece. I was able to knock six or seven boards into place with the same piece of tape on the block.

Happy DIY-ing, Renaissance Dad readers!
No comments:
Post a Comment