

We recently got a puppy. After we decorated the inside of our house for Christmas, one of the last things that we did was put the tree skirt around our tree. Within minutes the tree skirt had a puppy pee spot on it. So we took the tree skirt off, washed it, dried it, and hung it outside to air it out. We put the tree skirt back around the tree, and, I kid you not, hadn't even gotten it around the tree before there was a new puppy pee spot.
So we decided that this would be the year to put a tree collar around the tree instead of a tree skirt (note: I find it kind of ridiculous that we have so many names of things that go around the bottom of trees that we decorate our houses with, but apparently that's where we are. For those of you not familiar, a tree skirt is a cloth that goes around the base of a Christmas tree, while a tree collar is a rigid barrier.)
 |
| I wouldn't pee on the tree skirt... |
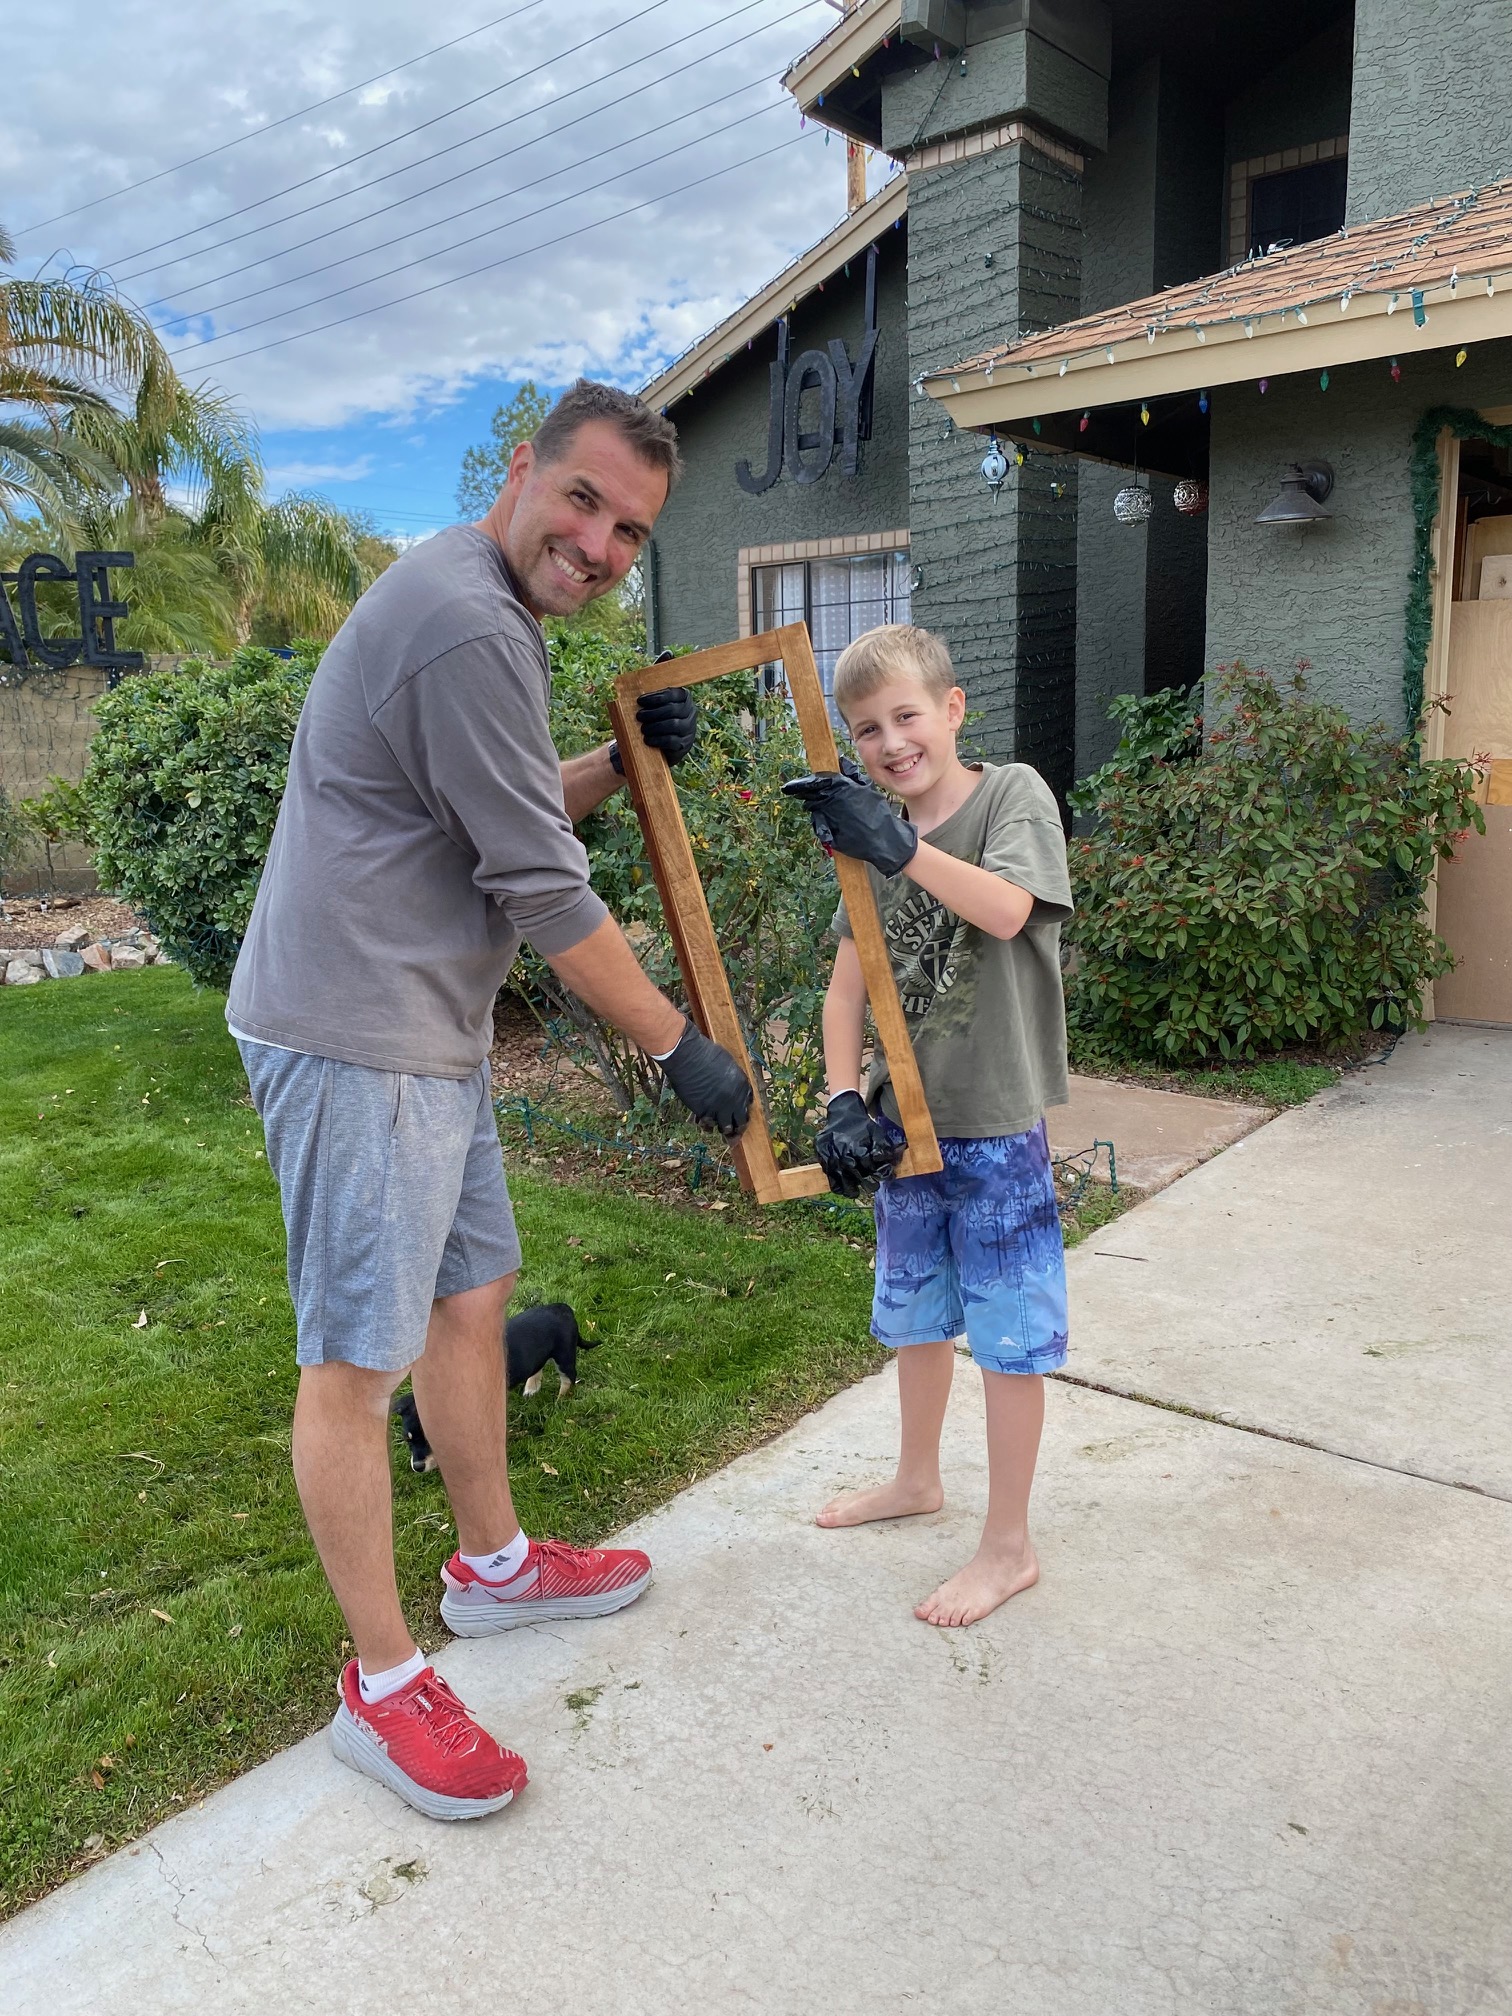
So I started in the morning with scrap walnut, maple, and bead board. After a couple of hours I had the pieces cut to size, planed, sanded, and ready to assemble. I started putting them together, and then I decided that it would be fun to invite my ten-year-old to help me with the project.
I got out the nail gun, walked through nail gun safety with him, and showed him how to use it. His first two nails went at an angle through the rail and came out the face of the bead board. Goodbye Pinterest-worthy tree collar...
But as I fought back my frustration at not having a perfect piece due to inviting my son to participate, I recognized that the time we spent together working on that project far outweighed the small marks that nobody but myself would notice. I clipped the nails, punched them into the wood, and we were back in business.
 |
| Whoops... |
After the glue dried, my son and I spent time together staining the wood. I talked him through rubbing the stain into the grain, but he was busy thinking about Minecraft and trampolines and piano and puppies. His rubbing was sloppy at best (I'm not expecting a call about having him apprentice with Norm Abram), but we had fun talking and working together.
 |
| I wouldn't misfire a nail gun... |
Merry Christmas!
 |
| I wouldn't eat sawdust... |
 |
| I wouldn't lose my cool while doing a project with my kid... |

No comments:
Post a Comment